3 dimensional visualization skills are important to develop the imagination, so a good way to develop this ability is to build and work with three dimensional things. Here we share the various projects our staff have done.
It is our hope that you will see the logic (or the lack of logic) used to make your own Fly Trap as an example of the kind of thought and analysis that goes into our script review services.
Notice: The content presented here is for entertainment purposes only. Readers who decide to construct or modify the items mentioned here do so at their own risk and peril.
Pesky flies driving you nuts? Feel like grabbing a double barrel shot gun and shooting up the whole house to get rid of those flies like Popeye the Sailor did in that old cartoon? Don't want to spend $10.00 for a store bought fly trap that ends up being tossed out in the trash?
This DIY fly trap may be just what you are looking for. Using common plastic soda bottles (or in this case an old ammonia cleaning fluid bottle), you can make this fly trap using simple materials you already have around the house.

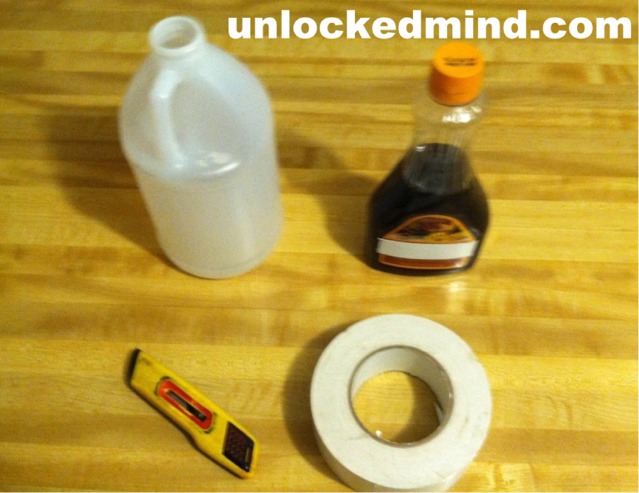
In the picture above, we show all of the items you will need to make the fly trap, which are: a clean (thoroughly rinsed out) ammonia bottle (or any other plastic drinking fluid bottle). Bottle of maple pancake/waffle syrup, box cutter with a new and sharp blade; roll of good quality duct tape. Optional: if you have a really bad fly problem, use a big chunk of rotting ground beef instead of the syrup.
Advertisement: Read about Ghosts, Bigfoot and Space Alien Sightings:
See the Unlocked Mind Newsletter at Amazon.com
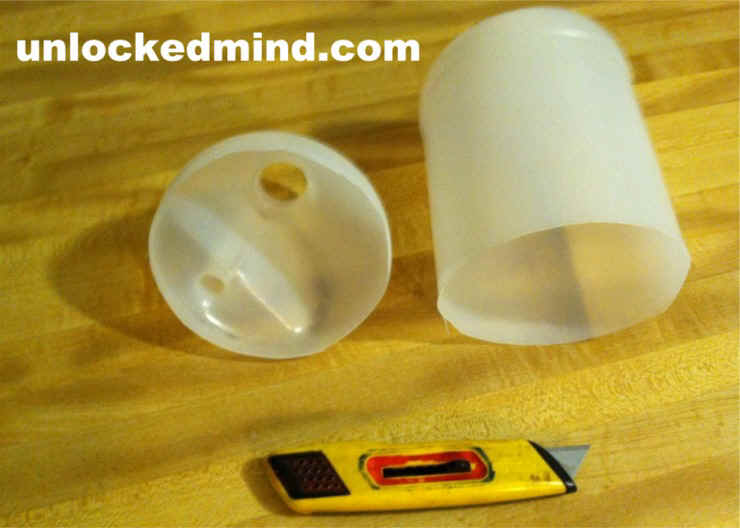
Step 1. Cut the upper portion of the bottle off. The sharp new blade will make this easier, but also more dangerous. Take your time in cutting the top off of the bottle so you don't hurt yourself. You don't want to use your own blood to bait the fly trap, so work slow and carefully cut all around the bottle. The bottle will twist around in your hands, so if you have arthritis, use scissors to cut the top part of the bottle off.

Note that the top of the bottle will serve as the 'funnel' to direct the flies into the trap. For openings in the handles like this ammonia bottle, you can stuff paper wadding into the holes, or cover the holes with duct tape. The fly trap works because fly brains are wired to always go to the top of the container, so the flies will buzz around the top of the bottle looking for a non existent escape (which is better than having them fly around your house). The idea of flying to the lower point at the funnel (where they entered the trap), is alien to them, so they ignore the funnel, which is good, because this is what keeps them in the trap!
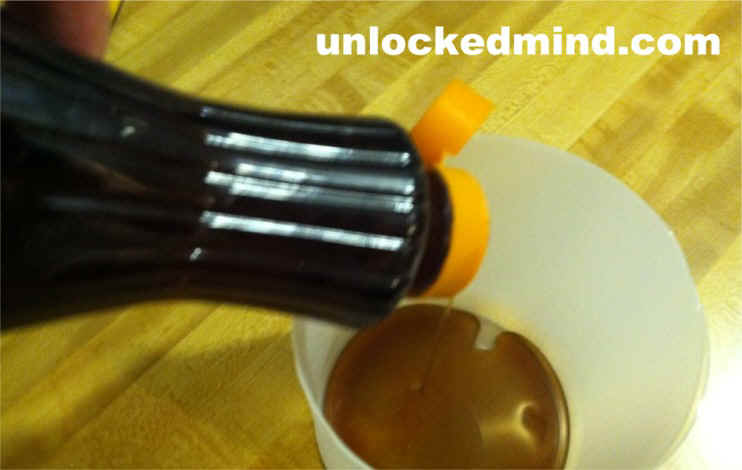
Step 2. Setting the trap. Adding the bait is easier while the bottle is wide open. You can add the syrup as shown below, or drop in a few good chunks of ground beef -- if using ground beef, use large chunks so the meat rots nicely, and does not quickly dry out, which allows the trap to work longer. Of course, you can also add commercially available fly bait to the trap, too.

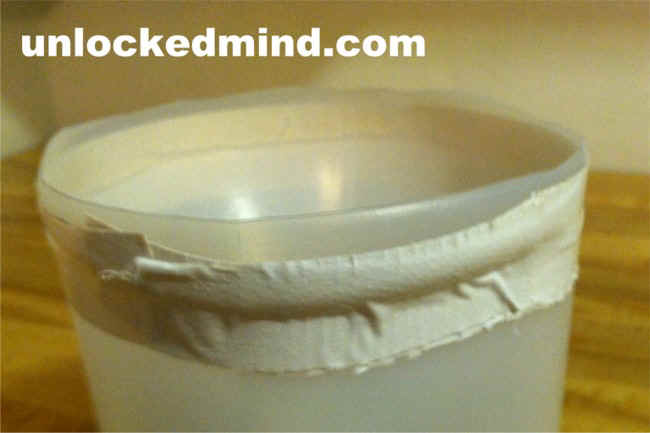
Step 3. Sealing the trap. Use the duct tape to secure the top of the bottle to form the funnel to complete the trap, and so none of the flies can escape, as shown in the picture below:

Step 4. Place the trap around your source of flies, and watch it go to work. Notice that the funnel will easily collect water, so be careful where you put the trap so it won't get filled with water from rain or from the garden sprinkler.
Step 5. Evaluating the trap. Once the trap has been put in service, you have to check up on it to make sure the dead fly carcasses are piling up inside of it nicely, and that plenty of flies are swarming around it to get inside. if the fly body count is sufficient, pat yourself on the back, because you found a great place for your trap. Otherwise, move the trap to another spot, and check it again, checking and moving the trap until your fly problem is resolved.